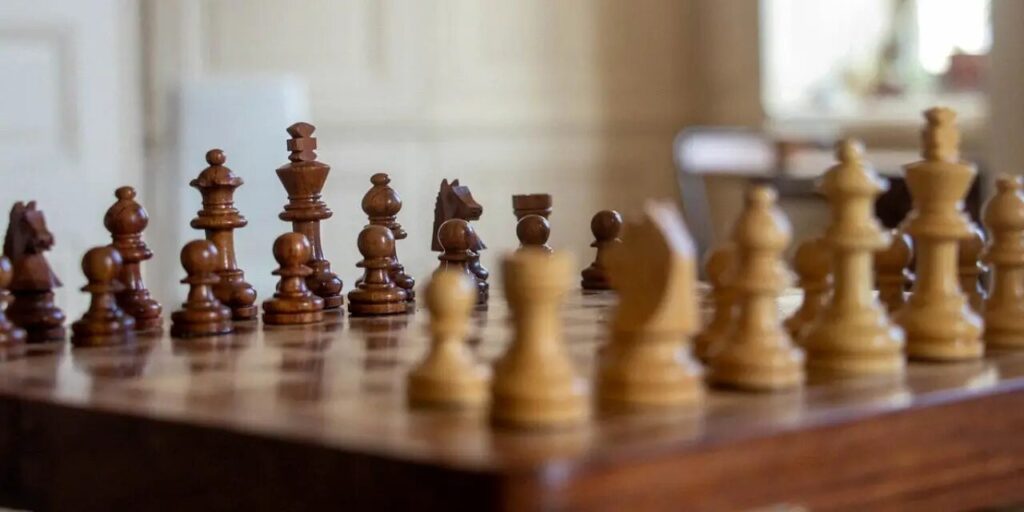
In chess, developing your pieces efficiently is one of the most crucial aspects of the game. Whether you’re just starting out or already have some experience, understanding how to develop your pieces effectively can make a significant difference in your overall performance. Proper piece development sets the stage for a strong middle game, gives you control over the board, and often puts your opponent on the defensive. In this article, we’ll explore practical strategies for developing your pieces efficiently, helping you to build a solid foundation for your chess games.
The Importance of Piece Development
Before we dive into specific strategies, it’s important to understand why developing your pieces is so essential in chess. When we talk about “development” in chess, we’re referring to the process of moving your pieces from their starting positions to more active squares where they can influence the game.
Effective development ensures that your pieces are well-placed to control key areas of the board, support each other, and respond to your opponent’s moves.
Efficient piece development is especially important in the opening phase of the game. If you fail to develop your pieces quickly and effectively, you risk falling behind in the battle for the center, limiting your options and giving your opponent the initiative.
On the other hand, proper development allows you to maintain flexibility, create threats, and prepare for both attack and defense.
Control the Center with Your Pieces
One of the golden rules of chess is to control the center, particularly during the opening. The center of the board—comprising the squares e4, e5, d4, and d5—is the most critical area because pieces placed here have maximum mobility.
By controlling the center, you can move your pieces to both sides of the board quickly, support your pawn structure, and restrict your opponent’s movements.
When developing your pieces, aim to place them on squares where they exert control over the center. For example, knights are most effective when developed to squares like c3 and f3 (for white) or c6 and f6 (for black), where they control central squares like e4, d5, e5, and d4.
Similarly, bishops should be developed to squares where they can influence long diagonals that cut across the center, such as c4, f4, c5, or f5.
Develop Your Knights Before Bishops
A common principle in chess openings is to develop your knights before your bishops. The reasoning behind this is simple: knights are most effective when placed in the center or near the center, and their ideal squares are usually clear from the very start of the game.
Bishops, on the other hand, have more flexibility in their placement, and the best squares for your bishops might depend on how the game unfolds.
By developing your knights first, you establish control over key central squares and create a solid foundation for the rest of your opening moves. Once your knights are in place, you can decide where to position your bishops based on the current board situation.
For instance, if your opponent has opened the center, you might want to place your bishops on active, open diagonals. If the center is closed, you may prefer to position your bishops on squares that support your pawn structure and prepare for a potential pawn break.
Avoid Moving the Same Piece Multiple Times
In the opening phase, your primary goal should be to get all your pieces developed as quickly as possible.
This means avoiding the temptation to move the same piece multiple times unless absolutely necessary. Each time you move the same piece twice, you’re losing valuable time that could be spent developing another piece and gaining control over the board.
For example, if you move your knight out to a central square like f3, it’s usually best to leave it there while you develop your other pieces. If you find yourself moving that same knight again to a different square, you’re likely missing out on the opportunity to bring another piece into the game.
The more pieces you have developed, the stronger your position will be, and the harder it will be for your opponent to mount an effective attack.
Connecting Your Rooks
After you’ve developed your knights and bishops and placed your pawns in strong central positions, it’s time to think about connecting your rooks. Rooks are most powerful when they are connected and can support each other, typically on open or semi-open files.
However, before your rooks can work together effectively, they need to be connected by removing the pieces that stand between them—usually your queen and bishops.
Castling Early for Safety and Rook Development
One of the most effective ways to connect your rooks while also protecting your king is to castle early. Castling is a special move that not only safeguards your king by moving it away from the center but also brings one of your rooks into the game.
Whether you choose to castle kingside (short castling) or queenside (long castling), this move is crucial for both your king’s safety and your rook’s activity.
When you castle, the rook moves closer to the center of the board, where it can quickly join the action. After castling, you should aim to move your queen out of the way, either to a central square like d2 or e2 (for white) or d7 or e7 (for black), depending on the position.
This will connect your rooks, allowing them to work together to control open files and support your other pieces.
Placing Your Rooks on Open Files
Once your rooks are connected, your next objective should be to place them on open or semi-open files—files (columns) that have no pawns or only a few pawns on them.
Rooks are incredibly powerful on open files because they can control the entire length of the file, putting pressure on your opponent’s position and creating potential threats.
If there are no open files yet, you can create one by exchanging pawns or by advancing your pawns to open lines for your rooks.
For example, if you’ve castled kingside and the e-file becomes open after some exchanges, placing your rooks on e1 and e2 (for white) or e8 and e7 (for black) can give you significant control over the center and the enemy camp.
Rooks can also be used to double up on a file, meaning you place both rooks on the same file, one behind the other. This doubling of rooks creates a powerful battery that can apply immense pressure on your opponent’s position, especially if the file leads to your opponent’s king or a weak pawn.
Avoid Blocking Your Rooks
One of the common mistakes beginners make is unintentionally blocking their rooks with other pieces or pawns. To maximize the effectiveness of your rooks, it’s important to keep the files they occupy open or at least semi-open.
This means avoiding moves that place pawns or other pieces in the way of your rooks’ line of sight.
For instance, if you’ve placed a rook on the e-file, you should be cautious about advancing your e-pawn unless it’s part of a strategic plan.
Advancing the e-pawn could block your rook’s influence on the file and reduce its effectiveness. Always think ahead about how your rook can best contribute to your overall strategy, and avoid making moves that limit its potential.
Developing Your Queen: Timing and Placement
The queen is the most powerful piece on the board, capable of moving in any direction—horizontally, vertically, or diagonally—for any number of squares.
However, because of its power, the queen is often targeted by your opponent early in the game. Therefore, developing your queen too early can sometimes lead to it being chased around the board, wasting valuable time that could be spent developing other pieces.
When to Develop Your Queen
As a general rule, it’s best to delay developing your queen until after you’ve developed your knights, bishops, and have castled your king. This ensures that your queen won’t be easily harassed by lesser pieces like knights or bishops, and it also allows you to bring your more minor pieces into the game first.
Once your position is more stable and your other pieces are developed, you can begin to think about where to place your queen.
The queen should be placed on a square where it can support your central pawns, exert pressure on your opponent’s position, or prepare for future attacks. Central squares like d2, e2, d7, and e7 are often good choices because they allow the queen to influence a large portion of the board without being too exposed.
Coordinating Your Queen with Other Pieces
The key to using your queen effectively is coordination. The queen is at its best when working in tandem with other pieces, especially knights and rooks.
For example, placing your queen on the same file or diagonal as a rook can create a powerful attacking force, particularly if the file or diagonal leads to your opponent’s king.
Similarly, the queen and knight often form a strong attacking duo because the queen’s long-range power complements the knight’s ability to jump over other pieces and create forks. By coordinating your queen with your other pieces, you can create multiple threats that are difficult for your opponent to counter.
Developing Your Bishops: Optimizing Placement and Activity
Once you’ve developed your knights and secured your king by castling, it’s time to turn your attention to your bishops. Bishops are long-range pieces that can control entire diagonals, making them essential for both offense and defense.
Properly placed bishops can dominate the board, control key squares, and support your other pieces in their tasks. Let’s explore how to develop your bishops effectively.
Choosing the Right Diagonals
The placement of your bishops largely depends on the structure of the pawns and the position of your opponent’s pieces. A bishop’s strength lies in its ability to control long, open diagonals.
Therefore, when developing your bishops, you should aim to place them on diagonals that allow them to influence the center or target weak squares in your opponent’s position.
For example, in many openings, white often places the light-squared bishop on c4 or b5, where it can exert pressure on the f7 square (a weak spot in black’s camp) or pin a knight to the black king.
Black might develop the dark-squared bishop to g7 in the King’s Indian Defense or the Sicilian Dragon, where it controls the long diagonal h8-a1, providing both defensive support and potential attacking opportunities.
When choosing a square for your bishop, consider the pawn structure. If the center is open or semi-open, placing your bishops on active diagonals that slice through the board is usually the best option.
If the center is closed, you might need to place your bishops in positions where they can still influence the board but are not blocked by pawns.
Fianchettoing Your Bishops
One popular way to develop a bishop is by fianchettoing it, which involves moving the b-pawn or g-pawn one square forward (to b3 or g3 for white, b6 or g6 for black) and then placing the bishop on the second rank (b2 or g2 for white, b7 or g7 for black). This setup allows the bishop to control a long diagonal while being safely tucked behind a pawn.
Fianchettoed bishops are particularly effective in openings like the King’s Indian Defense, where the bishop on g7 supports central pawn breaks and controls key squares on the queenside.
Similarly, in the English Opening, a bishop fianchettoed on b2 can exert significant pressure on the long diagonal, especially if the center opens up later in the game.
The downside of fianchettoing is that it can take more time to set up, and if your opponent manages to exchange the fianchettoed bishop, you might end up with weaknesses on the squares that the bishop used to control.
Therefore, when you fianchetto, it’s important to ensure that your bishop remains active and that the pawn structure around it is solid.
Avoiding Bad Bishops
A “bad bishop” is a bishop that is blocked by its own pawns, particularly pawns that are on the same color squares as the bishop itself. For example, if you have a dark-squared bishop and many of your pawns are on dark squares, the bishop’s mobility can be severely limited, reducing its effectiveness.
To avoid ending up with a bad bishop, try to keep your pawns on the opposite color of your bishop whenever possible.
This ensures that the bishop has open lines to move and influence the game. If you do find yourself with a bad bishop, one way to improve its activity is to maneuver it to a more open diagonal or to exchange it for one of your opponent’s active pieces.
Sometimes, you might intentionally exchange a bad bishop for a more active knight or bishop from your opponent, improving the overall quality of your position.
For instance, if you have a dark-squared bishop that’s locked behind pawns, trading it for your opponent’s active light-squared bishop can be a favorable exchange.
Coordinating Your Pieces for a Strong Middle Game
By now, you should have most of your pieces developed and placed on active squares. The next step is to coordinate these pieces so they work together as a cohesive unit. Effective coordination is what transforms a good position into a strong, dominant one. Here’s how to bring it all together.
Centralizing Your Pieces
Centralization is key to effective piece coordination. Pieces that are centralized have greater mobility and can influence more squares on the board.
Knights and bishops, in particular, become much more powerful when placed in or near the center.
For example, a knight on e5 or d5 (for white) or e4 or d4 (for black) is a formidable piece, often referred to as an “outpost.” These central squares allow the knight to control key squares on both sides of the board, and if supported by a pawn, the knight becomes very difficult to dislodge.
Similarly, rooks placed on central files (like d and e) are in prime positions to support central pawn advances, challenge your opponent’s control of the center, or prepare to invade your opponent’s camp.
Bishops on central diagonals (like d4 or e5 for white, or d5 or e4 for black) can also exert significant pressure, especially when they’re coordinated with other pieces.
Creating and Executing a Plan
Once your pieces are developed and centralized, it’s time to create a plan. Your plan should be based on the specific features of the position, such as weaknesses in your opponent’s pawn structure, open files, or potential targets for attack.
For example, if your opponent has a weak pawn on d6, you might plan to double your rooks on the d-file and attack the pawn.
If your opponent’s king is stuck in the center because they haven’t castled, you might coordinate your pieces to open the center and launch a direct attack on the king.
The key to executing your plan is patience and precision. Don’t rush into an attack before your pieces are fully developed and coordinated.
Instead, build up your position slowly, improving the activity of your pieces and restricting your opponent’s options. Once everything is in place, you can strike with maximum impact.
Maintaining Flexibility
While it’s important to have a plan, it’s equally important to remain flexible. Chess is a dynamic game, and the position on the board can change rapidly.
Be ready to adapt your plan based on your opponent’s moves and any new opportunities that arise.
For example, if you were planning to attack on the kingside but your opponent suddenly opens the queenside, you might need to shift your focus and redirect your pieces to deal with the new situation.
Maintaining flexibility allows you to take advantage of opportunities as they arise, rather than being locked into a single, rigid plan.
Transitioning from Development to the Middle Game
As your pieces become fully developed, the game naturally transitions from the opening into the middle game. This is where the real battle begins, and your early piece development pays off.
A strong middle game relies on how well you’ve developed your pieces and how effectively you can carry out your plans. Let’s explore how to make this transition smoothly and capitalize on the advantages you’ve built during the opening.
Identifying Key Squares and Weaknesses
One of the first things you should do as you transition into the middle game is to identify key squares and potential weaknesses in your opponent’s position. Key squares are strategic points on the board that, if controlled, can give you a significant advantage.

These squares are often in the center or near your opponent’s king or pawns.
For example, if your opponent has pawns on c6 and d6, the d5 square might be a weak point that you can target with your pieces.
Placing a knight on d5 could be extremely powerful, especially if your opponent cannot easily dislodge it. Similarly, if your opponent has moved their pawns forward too aggressively, they may have created holes in their pawn structure that you can exploit.
Weaknesses aren’t just limited to squares—they can also be pieces that are poorly defended or out of place. For instance, a bishop that is trapped behind its own pawns or a rook that hasn’t been developed yet can be considered weaknesses.
Once you identify these weaknesses, you can formulate a plan to attack them.
Building Pressure
The middle game is all about building pressure on your opponent’s position. If you’ve developed your pieces well, you should have the opportunity to start creating threats that your opponent has to respond to.
The more pressure you can build, the more likely it is that your opponent will make a mistake, giving you a chance to gain a material or positional advantage.
One way to build pressure is by doubling your rooks on an open file. This creates a powerful battery that can dominate that file and target your opponent’s pieces or pawns.
If you’ve controlled the center well, your rooks can often support central pawn breaks or prepare for an invasion into your opponent’s territory.
Another way to build pressure is by coordinating your minor pieces (knights and bishops) to target a weak pawn or square.
For instance, if your opponent has a weak pawn on e6, you could place a knight on f4 and a bishop on c4, both aiming at the e6 pawn. This kind of focused pressure can force your opponent into a defensive posture, limiting their ability to counter-attack.
Creating Pawn Breaks
Pawn breaks are a key element of middle game strategy, and they often stem from the way you’ve developed your pieces in the opening. A pawn break is when you advance a pawn to challenge your opponent’s pawn structure, opening lines for your pieces and creating new possibilities for attack.
For example, if you have a pawn on d4 and your opponent has pawns on c5 and d5, playing c4 can be a powerful pawn break. This move challenges your opponent’s central pawns, potentially opening up the c-file for your rooks or creating weaknesses in your opponent’s position.
When planning a pawn break, it’s important to ensure that your pieces are well-placed to take advantage of the open lines that result. If your rooks and queen are positioned to support the break, you can quickly take control of the newly opened file or diagonal, putting your opponent under pressure.
Managing Tension in the Position
As the middle game progresses, there will often be tension in the position—points where both sides are attacking or threatening each other. Managing this tension effectively is crucial for maintaining your advantage and transitioning smoothly into the endgame.
One common mistake is releasing the tension too early, such as by exchanging pawns or pieces without fully understanding the consequences. This can sometimes relieve the pressure on your opponent and give them the opportunity to regroup.
Instead, try to maintain the tension until you’re confident that you can gain an advantage by resolving it.
For example, if your opponent has a pawn on d4 and you have a pawn on e5, there might be tension between these two pawns.
Rather than immediately capturing on d4 or pushing your e-pawn, consider whether it’s better to leave the tension in place, forcing your opponent to decide how to resolve it. This can lead to mistakes or create opportunities for you to capitalize on.
Keeping Your King Safe
Even as you transition into the middle game and start executing your plans, it’s essential to keep your king safe. The king’s safety is often secured through castling, but as the game progresses, you may need to take additional steps to ensure that your king remains protected.
For instance, if the center opens up and your king is still in the center, it might be necessary to castle to a safer part of the board.
Alternatively, if you’ve already castled but your opponent starts an attack on that side of the board, you may need to bring your rooks or other pieces closer to your king to defend against potential threats.
In some cases, you might even consider moving your king to a safer square manually, known as “king walking,” especially in the late middle game or early endgame when fewer pieces are on the board.
Preparing for the Endgame
As the middle game progresses and pieces are exchanged, you should start thinking about the endgame. A key part of this preparation is ensuring that your pieces are well-placed for the endgame.
Centralizing your king, activating your rooks, and advancing your pawns are all crucial steps in this process.
The Endgame: Converting Your Advantage
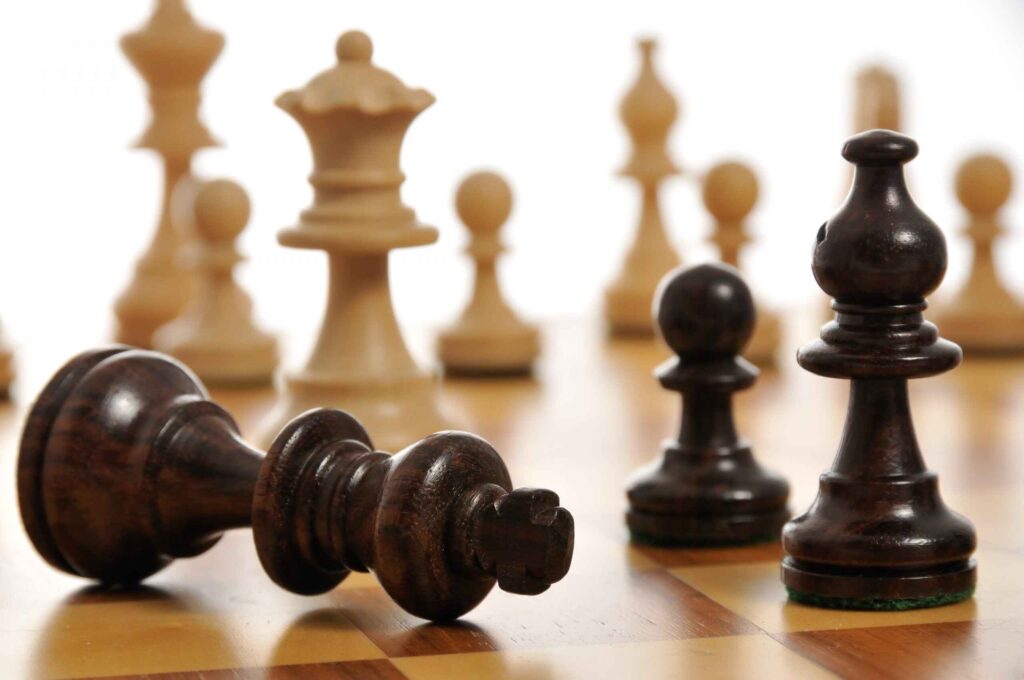
The endgame is where your earlier efforts in piece development and middle game strategy come to fruition. In this phase, the focus shifts from creating attacks and defending against threats to converting any material or positional advantage into a victory.
The endgame often requires precise calculation and careful maneuvering, as the margin for error can be very small. Here, we’ll explore how to transition smoothly into the endgame and the strategies you can use to secure a win.
Activating the King
One of the most significant changes from the middle game to the endgame is the role of the king. In the earlier stages of the game, the king is often tucked away behind pawns, avoiding the center of the action to stay safe.
However, in the endgame, the king becomes an active participant and can even be one of your most powerful pieces.
Activating your king means bringing it toward the center of the board, where it can support your pawns, control key squares, and challenge your opponent’s king. A centralized king is often a decisive factor in the endgame because it can help in both attacking your opponent’s pawns and defending your own.
For example, if your opponent has a pawn majority on the queenside and you have a pawn majority on the kingside, bringing your king to the center will allow you to support your pawns as they advance while also being close enough to defend against your opponent’s pawn pushes.
Creating and Pushing Passed Pawns
Passed pawns—pawns that have no opposing pawns directly blocking their path to promotion—are incredibly powerful in the endgame. If you can create a passed pawn, it often becomes your primary objective to advance it to the eighth rank and promote it to a queen.
To create a passed pawn, you may need to exchange pawns strategically or push your pawns to force your opponent to make concessions.
Once you have a passed pawn, advancing it becomes a high priority, but you must also be careful to support it with your other pieces. A lone passed pawn without adequate support can easily be captured or blockaded by your opponent.
For instance, if you have a passed pawn on the c-file, your rooks or king should be positioned to support its advance.
If your opponent attempts to blockade the pawn with their king or pieces, you can use your remaining forces to drive them away and clear the path for the pawn to promote.
Simplifying the Position
If you have a material advantage in the endgame, simplifying the position by exchanging pieces can be a highly effective strategy. The fewer pieces on the board, the easier it is to convert your material advantage into a win.
For example, if you are ahead by a knight, exchanging rooks or queens can reduce the complexity of the position and make it easier to outmaneuver your opponent.
However, be careful not to exchange pawns too hastily. In some endgames, pawns are more valuable than pieces because they have the potential to promote.
Before simplifying, consider whether the exchanges will leave you with a clear path to victory or whether they might actually reduce your winning chances.
For instance, in a rook and pawn endgame, you might have an extra pawn, and exchanging rooks could simplify the position, leaving you with a straightforward king and pawn endgame.
However, if your opponent has active pieces that can counterattack, it might be better to keep the rooks on the board to prevent your opponent from gaining the initiative.
Avoiding Stalemate
While pursuing a win, especially when you have a significant advantage, it’s important to avoid the trap of stalemate. Stalemate occurs when your opponent has no legal moves left, but their king is not in check. In such a case, the game is drawn, even if you are far ahead in material.
Stalemates often happen when you are too aggressive in trying to deliver checkmate or when you promote multiple pawns to queens without considering your opponent’s remaining moves.
To avoid stalemate, always keep an eye on your opponent’s king and ensure that they have legal moves available until you are ready to deliver a checkmate.
For example, if your opponent has only a king left, be cautious not to corner their king in a way that leaves them with no legal moves. Instead, focus on controlling the center and gradually pushing the king toward the edge of the board, where you can deliver checkmate without risking a stalemate.
Understanding Basic Endgame Patterns
There are several basic endgame patterns that every chess player should know. Understanding these patterns can help you navigate the complexities of the endgame and convert your advantage into a win more effectively.
King and Pawn vs. King:
This is one of the most fundamental endgames. The goal is to use your king to escort a pawn to promotion while preventing your opponent’s king from blocking it.
Knowing how to achieve this, often through techniques like opposition and outflanking, is essential for winning many endgames.
Rook and Pawn Endgames:
Rook endgames are among the most common in chess and can be very tricky. Key concepts include cutting off the opponent’s king, using your rook to support your pawn from behind, and knowing when to exchange rooks to simplify into a winning king and pawn endgame.
Queen vs. Pawn:
If you have a queen against your opponent’s lone pawn, it’s important to understand how to stop the pawn from promoting and how to deliver checkmate.
This endgame requires precise calculation, as a careless move can allow the pawn to promote and turn the tables.
Rook and Bishop vs. Rook:
This endgame is notoriously difficult, even for experienced players. However, understanding the basic principles, such as controlling key squares and coordinating your pieces, can help you hold a draw or even win if your opponent makes a mistake.
Transitioning to the Final Moves
As the endgame progresses and you move closer to victory, it’s important to stay focused and not become complacent. Even with a significant advantage, a single mistake can turn a winning position into a draw or even a loss.
Maintain your concentration, continue to calculate carefully, and execute your plan methodically.
Here are a few final thoughts to wrap up our discussion on efficient piece development in chess:
Keep Practicing and Reviewing
Mastering piece development and the transitions between the different phases of a chess game takes time and practice. The more games you play, the better you’ll understand how to apply these principles in different situations.
Always take time to review your games afterward, especially focusing on how well you developed your pieces and whether you could have improved your strategy in the middle game or endgame.
Stay Flexible and Adapt
Chess is a dynamic game, and no two games are ever the same. While it’s important to follow general principles like developing your knights before bishops and controlling the center, always be ready to adapt to the specific demands of the position.
Flexibility in your thinking and planning will help you navigate even the most challenging positions.
Think Ahead
Efficient piece development is about more than just moving your pieces off the back rank. It’s about thinking ahead, planning how your pieces will work together, and setting up for a strong middle and endgame.
As you develop your pieces, always keep the bigger picture in mind—how your development is preparing you for future attacks, defenses, and strategic plans.
Enjoy the Journey
Finally, remember to enjoy the game. Chess is not just about winning but also about learning, improving, and appreciating the depth and beauty of the game.
Whether you’re playing casually or competitively, take pride in your progress, and enjoy the journey of becoming a better player.
Wrapping it up
Efficiently developing your pieces in chess is key to setting up a strong and successful game. By focusing on controlling the center, developing your knights and bishops first, connecting your rooks, and carefully positioning your queen, you lay a solid foundation for a powerful middle game and endgame.
Remember to stay flexible, think ahead, and adapt to the evolving board as you play. With practice and a strategic mindset, you’ll not only improve your game but also enjoy the process of learning and mastering chess.
Happy playing!